
DIY Tips: How to Apply Limewash for a Healthier Home
Understanding Limewash
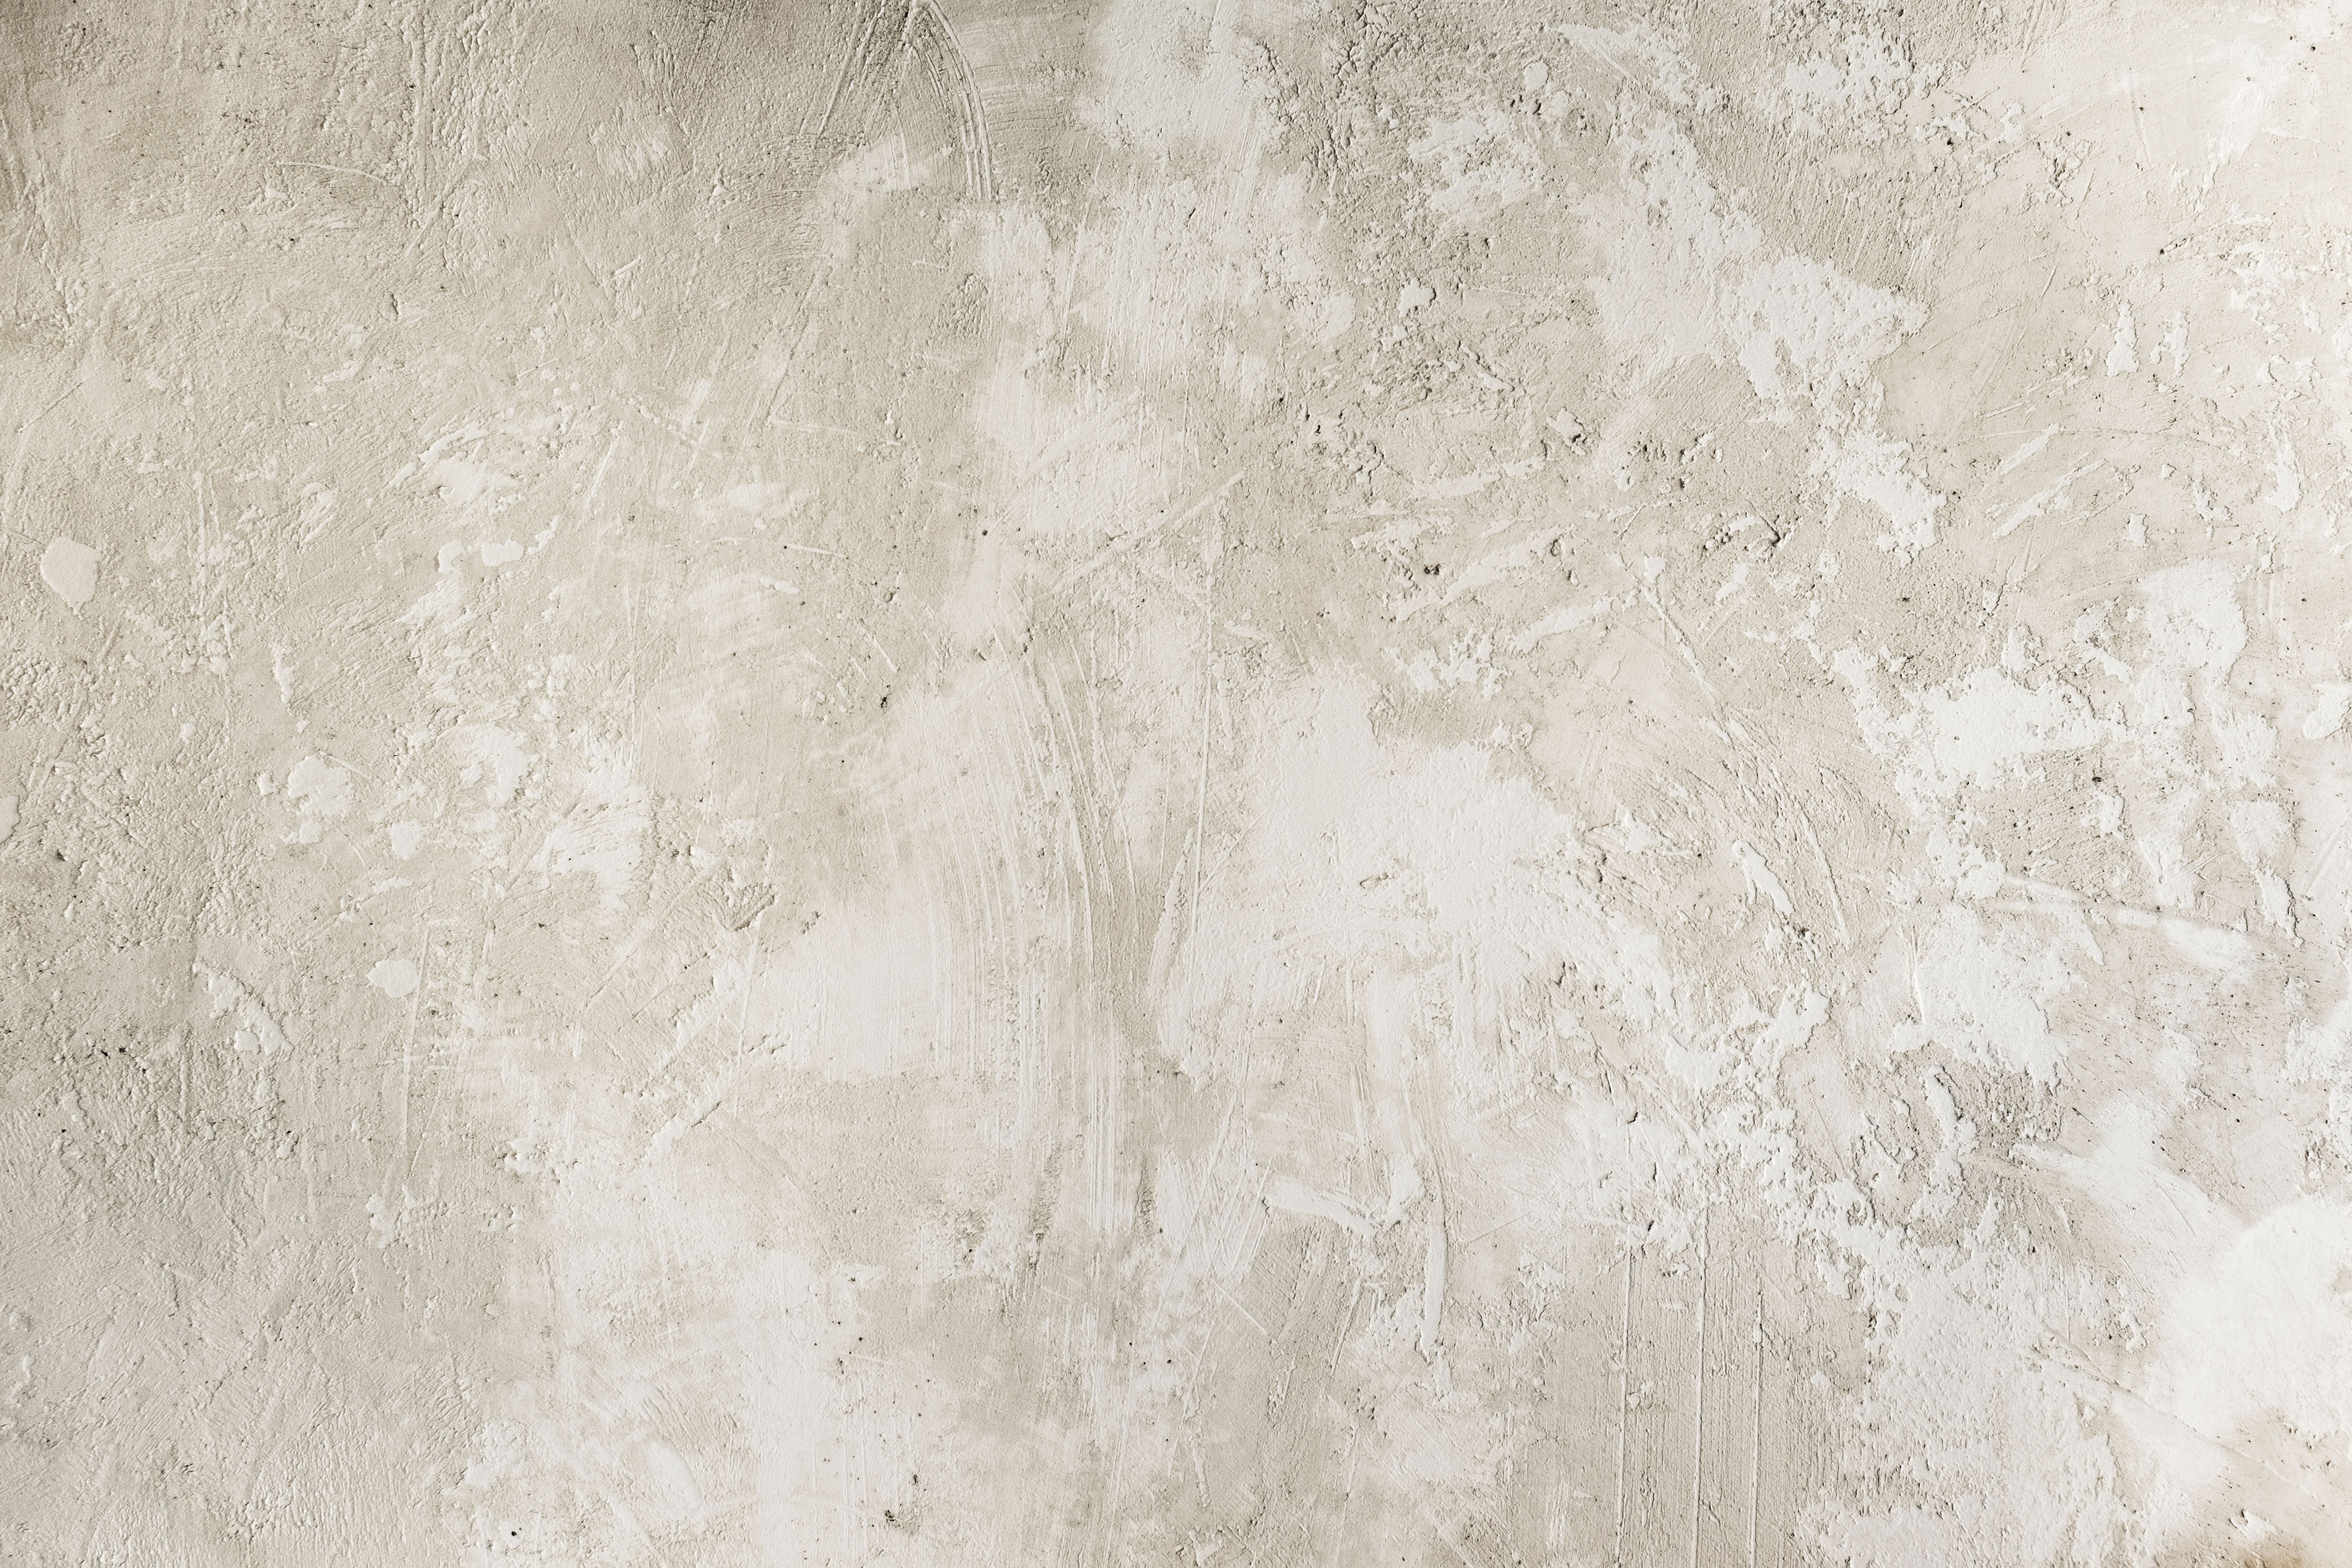
Limewash is an age-old technique that has been used for centuries to provide a natural, breathable finish to walls. It’s a mixture of lime and water that penetrates the surface, offering a matte and chalky appearance. This eco-friendly option not only enhances the aesthetic appeal of your home but also improves indoor air quality because it's non-toxic and free from VOCs (Volatile Organic Compounds).
One of the significant benefits of limewash is its ability to allow walls to "breathe." This means it helps regulate moisture, preventing mold and mildew, making your home healthier. Additionally, limewash has natural antibacterial properties, adding another layer of protection against unwanted microbes.
Preparing Your Walls for Limewash
Before applying limewash, it's crucial to prepare your walls properly. Start by cleaning the surfaces thoroughly to remove any dust, dirt, or grease. If the walls have been previously painted, ensure the paint is intact and not peeling. Limewash works best on porous surfaces such as brick, stone, or plaster; however, it can also be applied over existing paint with the right preparation.
Materials Needed
Gather the necessary materials before you begin:
- Lime powder or pre-mixed limewash
- Water
- Brushes or rollers
- Drop cloths
- Masking tape
Mixing and Applying Limewash
If you’re using lime powder, mix it with water to achieve the desired consistency. A common ratio is one part lime powder to four parts water, but this can vary based on the surface and the effect you want to achieve. The mixture should be thin and watery.
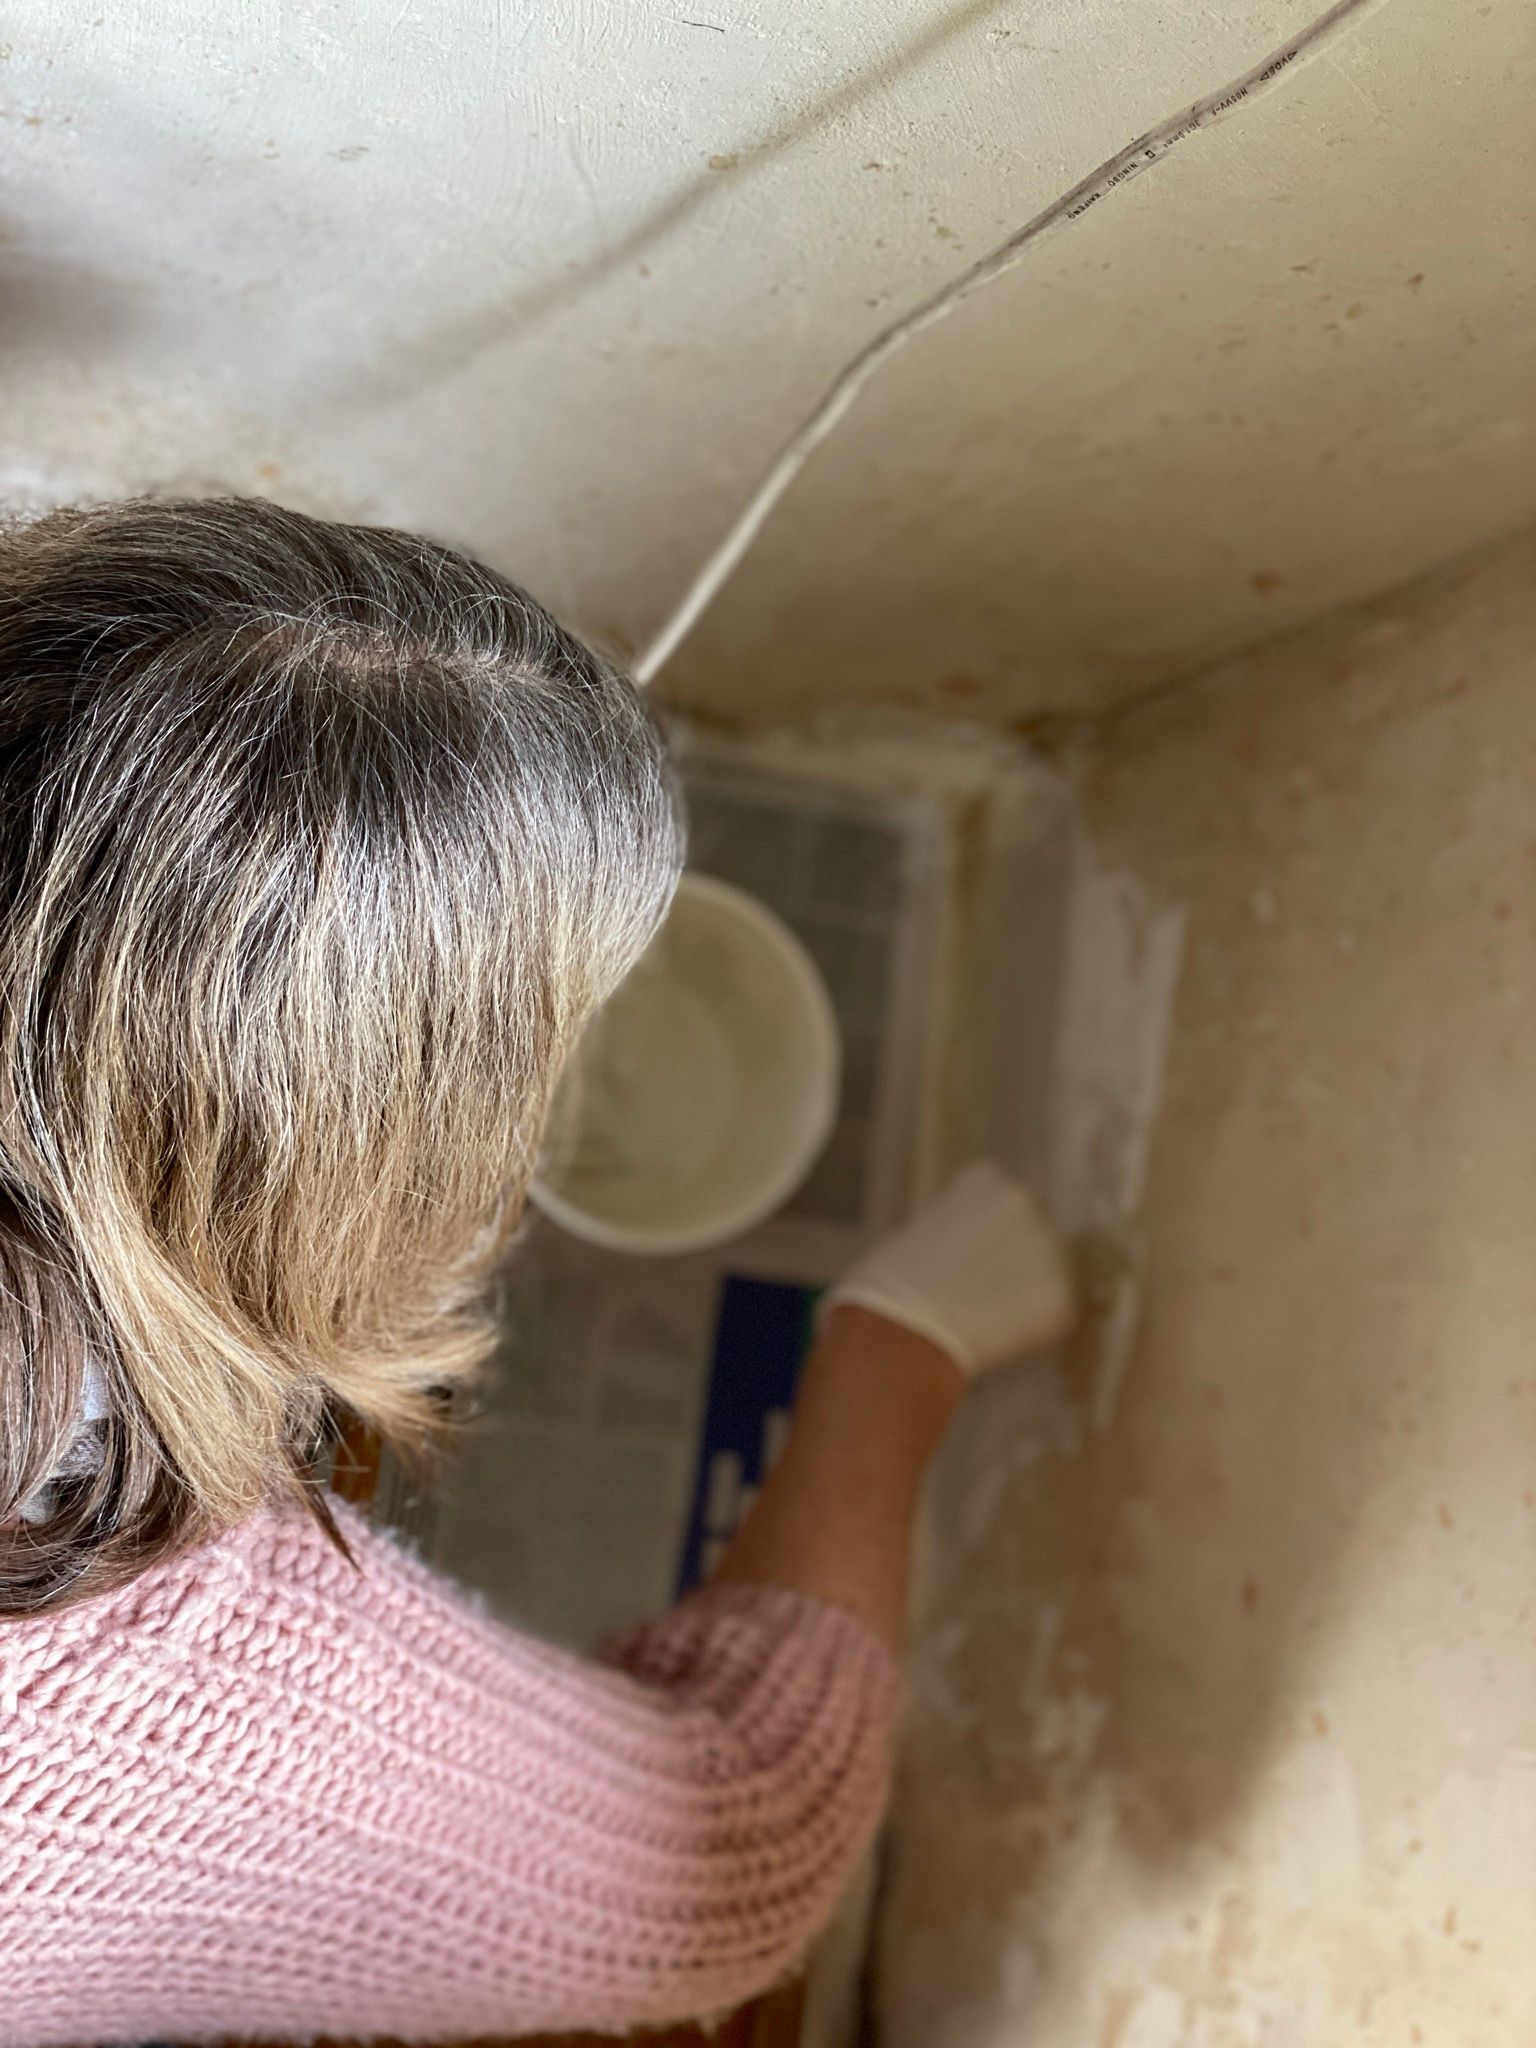
When applying limewash, use a large brush for best results. Start at the top of the wall and work your way down, applying it in a crisscross pattern for an even coat. It's essential to apply multiple thin layers rather than one thick coat. Allow each layer to dry completely before adding the next.
Curing Time and Maintenance
Limewash requires time to cure fully. It may take up to a week to dry completely, but this duration can vary based on humidity and temperature. During this period, avoid touching or washing the walls. Once cured, limewashed walls are relatively low maintenance but should be kept dry and clean.
Enhancing Aesthetic Appeal
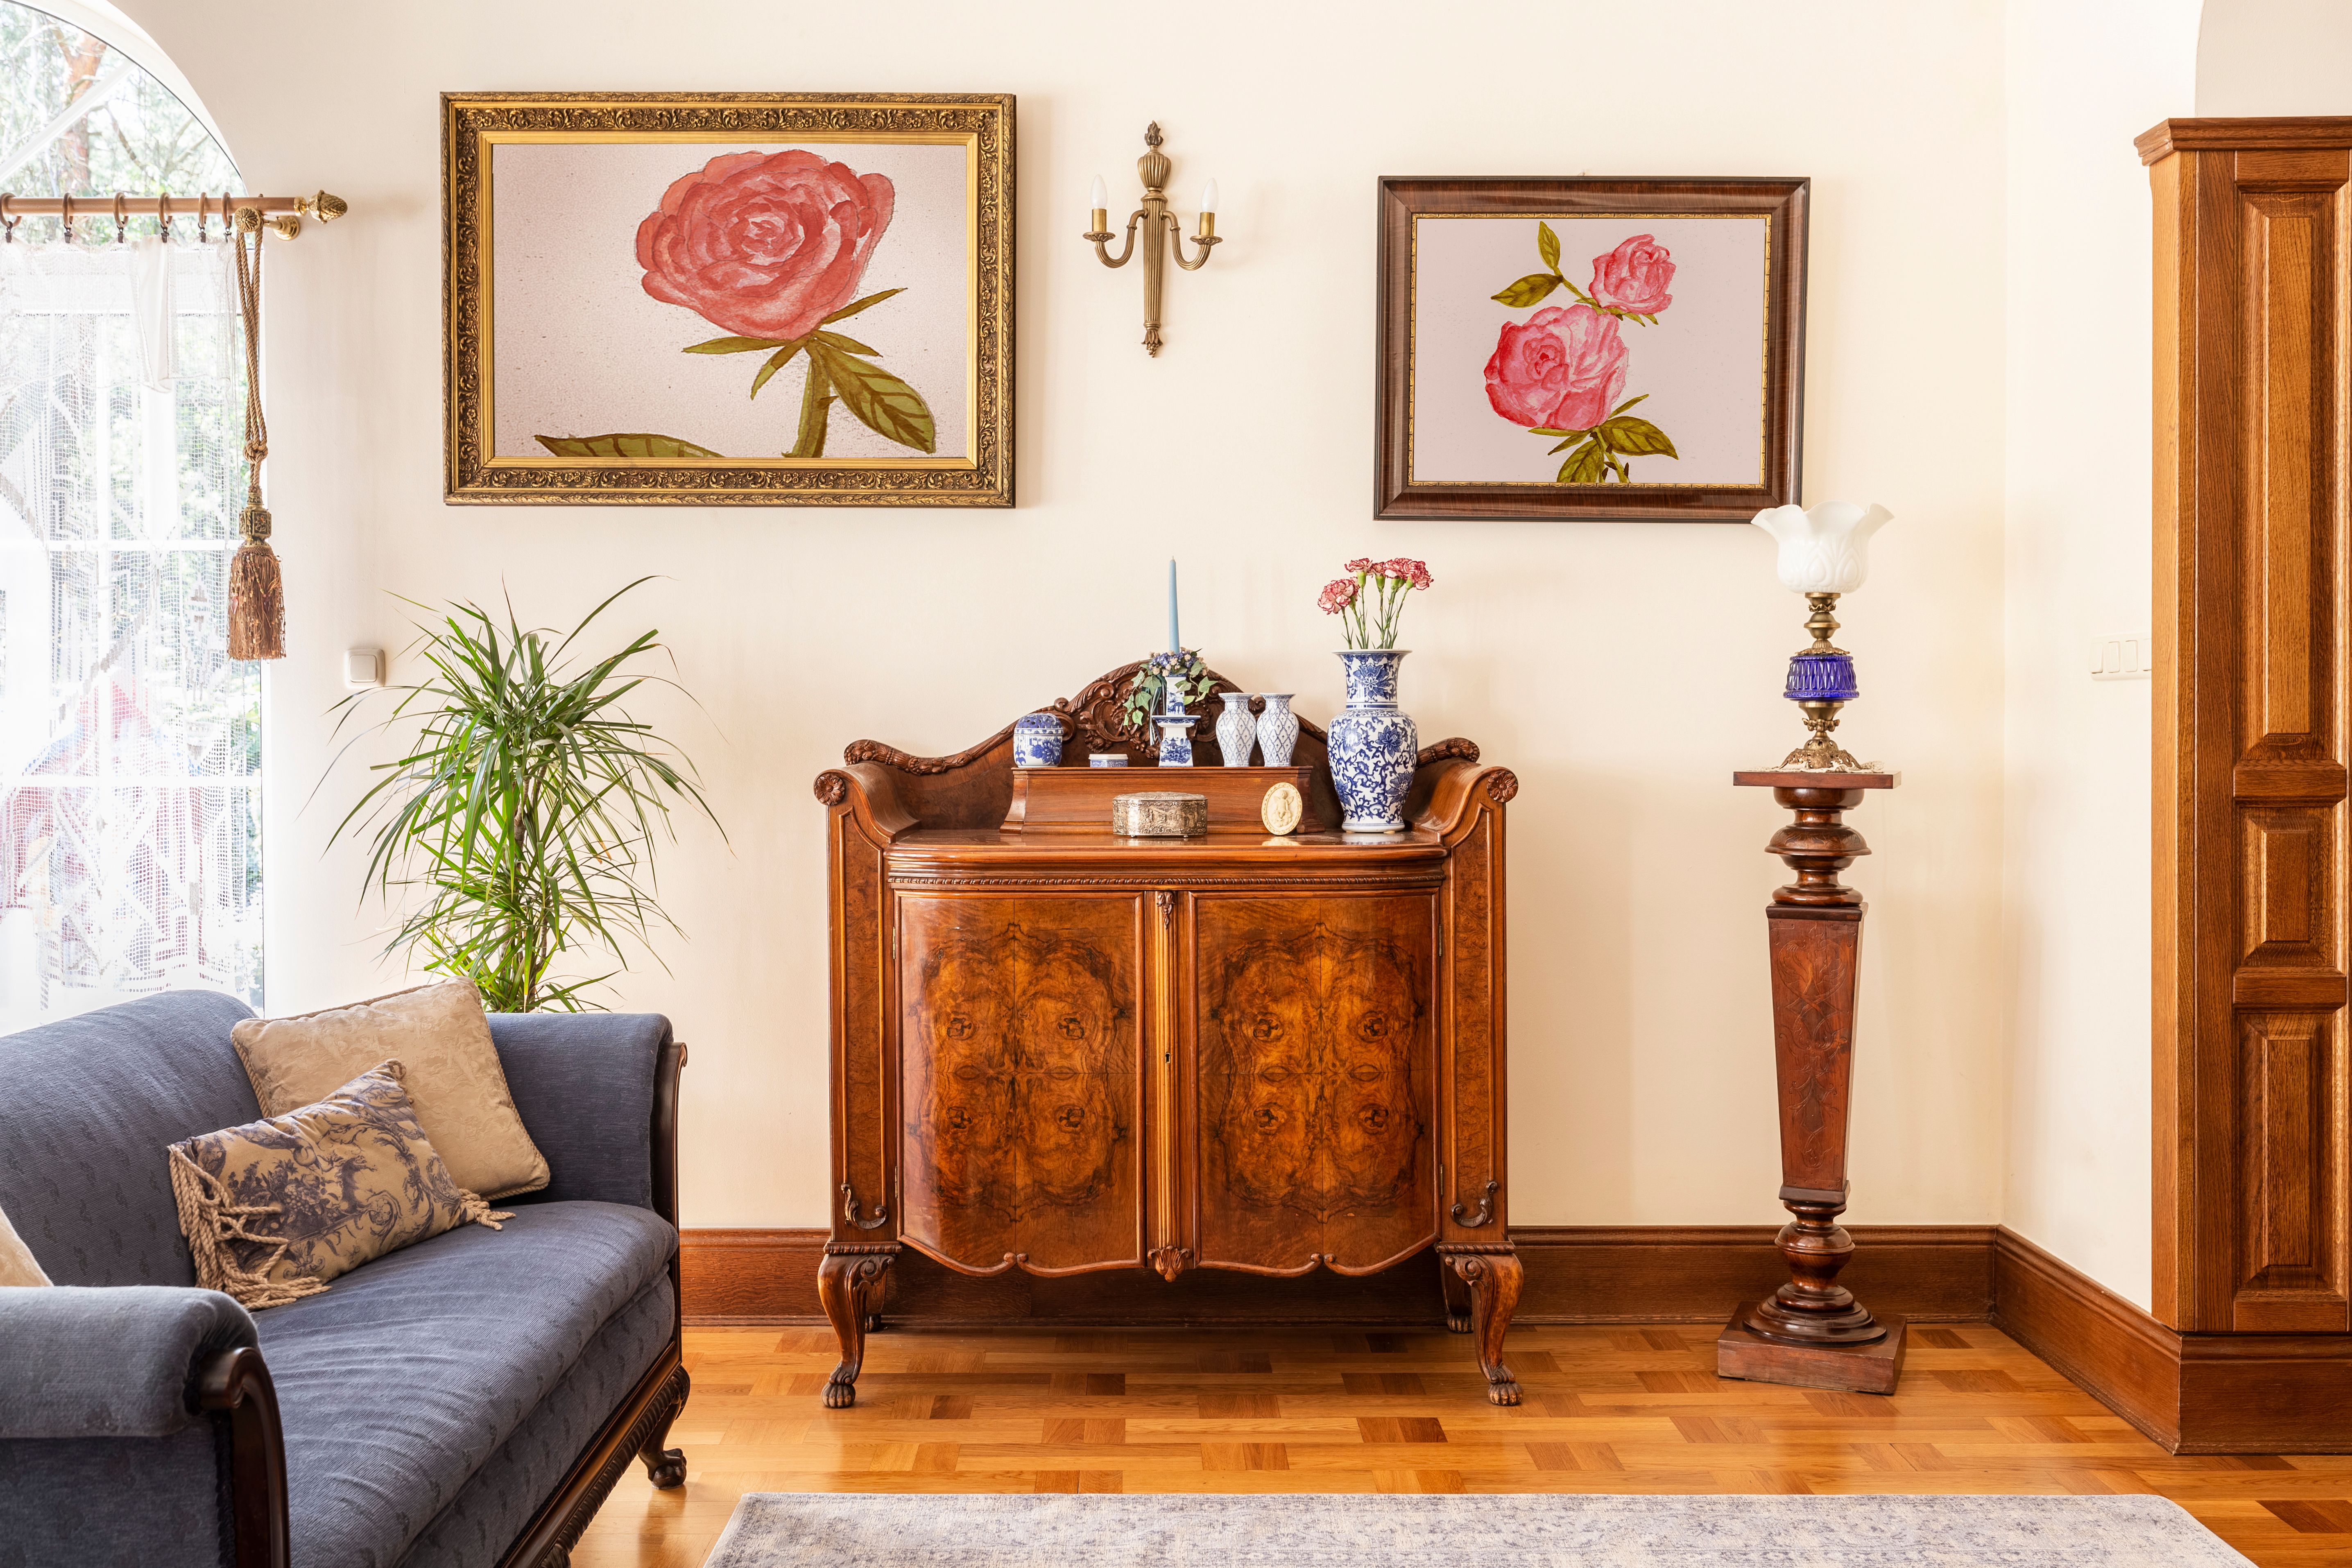
Limewash offers a rustic charm that can transform any space. It softens harsh lines and adds depth with its unique texture. To enhance your home’s aesthetic further, consider experimenting with different shades by adding natural pigments to your limewash mix.
Additional Tips for Success
Here are a few additional tips to ensure your limewashing project is successful:
- Test a small area first to see how the limewash reacts with your wall material.
- Wear protective gear such as gloves and goggles when mixing and applying limewash.
- If working indoors, ensure good ventilation as the lime can be caustic.
By following these DIY tips for applying limewash, you can create a healthier home environment while enjoying the timeless beauty and character that this natural finish brings to your space.